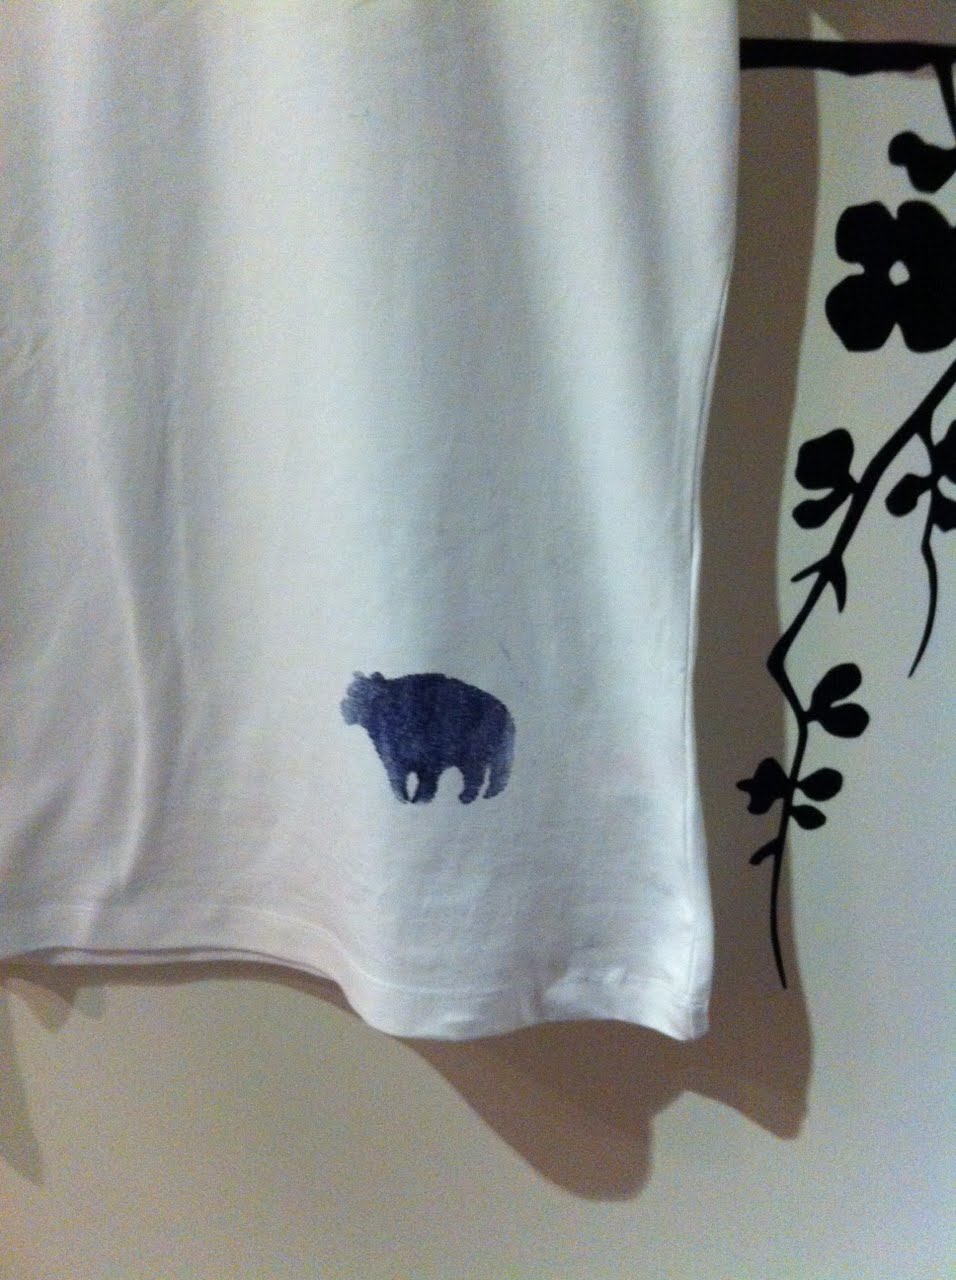
I decided to have a go at doing the pva (modge podge) screen printing again. My image this time was a big sheep with a little sheep inside! With all the pregnant women in my life it seemed apt! I didnt reaslise how hard it would be to do such fine detail in pva glue on stretchy fabric, which is why my little sheep is a bit odd looking... if i did it again id try a much larger scale image.
Showing posts with label screen print. Show all posts
Friday, 11 January 2013
Friday, 9 November 2012
PVA Glue Screen Printing
Ive seen DIY screen printing a few times on Pinterest so i thought id give it a go myself. I followed this tutorial at My Calico Skies
Equipment
Tights (for your screen)
Tapestry hoop
PVA glue (Modge Podge to the North American folks)
Fabric pen
Fabric paint
Card or plastic (to act as your squeege)
Something to print onto
First off make your screen. Stretch your tights across your tapesty hoop. Make it as tight as you can, springiness = movement which is not ideal in screen printing so the tauter the better.
Also try and a use as big a screen as you can in comparison to your design, it makes it much easier to print if you have space around the design.
Then paint around your design with PVA glue - only the uncovered bits will print so try not to get any glue on your design, and leave it to dry. I gave mine 2 coats i the end as i could see a few tiny holes around the design
Once the screen is dry place it on whatever you are printing, im using a plain white tshirt. Place it flat side down so the screen is flush with the tshirt
Splodge on some paint above the design. This is where is useful to use a much bigger frame for your design, gives you more space to do the actual printing.
Then scrape the paint all over the design, try and be as firm as possible to make sure you squeeze all the paint through the tights. I used a bit of scrap plastic as my scraper but cardboard would do, anything firm with a flat edge basically.
Make sure you scrape paint over the whole design and you can go over it more than once if you want to make sure, just be careful the screen hasnt moved if you do.
Then peel of your screen and admire :)
You can see from mine that i used more pressure in the middle than the edges as not as much paint was squeezed through there, but i don't mind, i like inadvertent the mini ombre effect!
Let the paint dry and then follow the manufacturers instructions for fixing the paint to your fabric, and youre done.
Tuesday, 27 March 2012
Freezer paper stencil tshirts
I made some cute little stencilled tshirts using freezer paper and fabric paint at the weekend
I just printed an outline on the freezer paper with my regular injet printer and cut it out. I then ironed the freezer paper, waxy side down, onto the tshirt. I painted the stencil useing screen printing paint, waited for it to dry and then peeled off the stencil. I ironed it afterward to set it but check your paint instructions for how to fix it
Theres some great silhouette clip art available on the internet to use if your rubbish at drawing like me!
Wednesday, 15 February 2012
Screen Print Cushion Tutorial
I blogged about this tutorial for screen printing without a screen over at The Creativity Exchange before and lovely BM and i needed some new cushion covers so i had a go at making them this weekend
I just used some basic cream drill cotton i bought from ebay. Id recommend a good thick fabric for cushions, like a drill, as it needs to be quite durable. I measured around my cushion, and cut my fabric to the same width and 2.5 times the length, with an additional 5-10cm seam allowance.
Then i laid out the pattern i wanted in tape in the centre of my fabric, trying to make it as symmetrical as possible. This was the most difficult part, i love the geometric shapes and they only work if theyre exact so there was a lot of measuring and calculating involved, but i quite enjoyed it really. I used frog tape, just got it from B&Q, as i think it's much better for stopping paint bleeding under the tape.
I bought some screen print paint from my local art shop. Its important the you use paint that doesnt bleed or you wont get the crisp straight line that looks so good so I tested my paint on a bit of scrap fabric first to make doubly sure.
Then i just painted in the areas i wanted, i did 2 coats to make sure i got even coverage, letting it dry fully in between coats.
Then the fun bit is pulling off the tape and seeing what youve created! I loved how mine turned out and the colour is nice and opaque which is what i wanted.
I ironed the cushion covers to set the paint, but check your paint to see what you need to do to set it. Then i made then up into cushions following the instructions on The Creativity Exchange's tutorial.
There's already in use on our sofa and I'm loving them. I'm not sure how washable they are so i just need to try and keep Marley cat and his giant muddy paws away from them!
I just used some basic cream drill cotton i bought from ebay. Id recommend a good thick fabric for cushions, like a drill, as it needs to be quite durable. I measured around my cushion, and cut my fabric to the same width and 2.5 times the length, with an additional 5-10cm seam allowance.
Then i laid out the pattern i wanted in tape in the centre of my fabric, trying to make it as symmetrical as possible. This was the most difficult part, i love the geometric shapes and they only work if theyre exact so there was a lot of measuring and calculating involved, but i quite enjoyed it really. I used frog tape, just got it from B&Q, as i think it's much better for stopping paint bleeding under the tape.
I bought some screen print paint from my local art shop. Its important the you use paint that doesnt bleed or you wont get the crisp straight line that looks so good so I tested my paint on a bit of scrap fabric first to make doubly sure.
Then i just painted in the areas i wanted, i did 2 coats to make sure i got even coverage, letting it dry fully in between coats.
Then the fun bit is pulling off the tape and seeing what youve created! I loved how mine turned out and the colour is nice and opaque which is what i wanted.
I ironed the cushion covers to set the paint, but check your paint to see what you need to do to set it. Then i made then up into cushions following the instructions on The Creativity Exchange's tutorial.
There's already in use on our sofa and I'm loving them. I'm not sure how washable they are so i just need to try and keep Marley cat and his giant muddy paws away from them!
Labels:
cotton,
cushions,
drill,
fabric,
frog tape,
geometric,
instructions,
paint,
pattern,
screen print,
seam,
sewing,
tape,
tutorial
Tuesday, 24 January 2012
Screen print cushions
Add these to my to do list! Really clever tutorial over at the creativity exchange about screen printing on fabric without any equipment, just tape and paint. I did a screen printing course at the london print studio a while ago and i loved it. I love the ability to replicate a design and the clean crisp lines of screen printing, but buying the kit can be expensive and you need quite a bit of space (maybe in the next house!), so maybe i'll give this a go instead. Lovely BM will be so pleased that were getting yet more cushions!!
see my attempt at making them here
Subscribe to:
Posts (Atom)