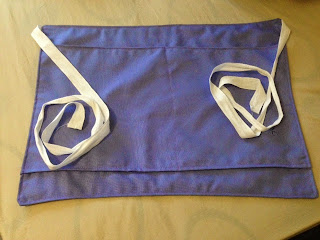
I help out on my family's lavender farm occasionally as waitress so i decided to make myself a little apron to wear whilst waitressing! Its just a simple one with two deep pockets at the front, very easy so if i make another one i might do a tutorial on it so watch this space!
Showing posts with label tutorial. Show all posts
Wednesday, 4 June 2014
Thursday, 25 July 2013
Wardrobe Storage Boxes - Triangular!
So our lovely fitted wardrobes have some triangular shaped shelves in them and i was struggling to use them for much.
In the end i decided i needed storage boxes for the shelves. I went through a load of ideas, buying some (nothing was the right shape), making them out of card or thin plastic sheet (sheets big enough were expensive) until i decided the only way was to make them out of fabric and use pelmet hessian to strengthen the sides
I measured the shelf and cut out three pieces for the sides and a triangular piece for the base. Accuracy is key here, theres little room for error so make sure you measure twice, cut once, like my grandad taugt me!
I sewed the three side pieces together to make a tube
But i didnt sew all the way down to the bottom, i left a cm gap to make it easier to add in the base piece.
Then, with everything right side together, i lined up the base piece and sewed along each side. Again dont sew all the way to the end, stop when you get to the seam allowance for the next side of the base piece
That means all you corners line up nicely
I turned it all right side out and checked the corners. Sometimes the gap i left at the bottom on the side piece was too big and there would be a gap or loose stitching. If there was i just turned it wrong side again, stitched over the side seams, all the way down to the base piece to secure them.
Then i made a whole new piece in the same way for the lining.
Once i had both the outer piece and the lining i cut the pelmet hessian to the correct length for each side and tucked them into place. And added the lining piece (wrong side against the hessian) inside the hessian
I didnt think my sewing machine would stand up to sewing through 2 layers of fabric and the hessian so i decided to use an iron on tape to seal the edges
I folded the lining of the box over the hessian and tucked it in between the hessian and the outer fabric. I then folder the outer fabric over that. So the raw edge of the outer fabric formed a lip over the top onto the lining.
Then i just ironed the tape over the raw edge sealing it.
Heres they are in use, i love how they look and they really have made that area more usable. I used fabric i already had and probably spent £40 on hessian and iron on tape but that still works out much cheaper than making plastic ones or buying custom fit ones!
Friday, 9 November 2012
PVA Glue Screen Printing
Ive seen DIY screen printing a few times on Pinterest so i thought id give it a go myself. I followed this tutorial at My Calico Skies
Equipment
Tights (for your screen)
Tapestry hoop
PVA glue (Modge Podge to the North American folks)
Fabric pen
Fabric paint
Card or plastic (to act as your squeege)
Something to print onto
First off make your screen. Stretch your tights across your tapesty hoop. Make it as tight as you can, springiness = movement which is not ideal in screen printing so the tauter the better.
Also try and a use as big a screen as you can in comparison to your design, it makes it much easier to print if you have space around the design.
Then paint around your design with PVA glue - only the uncovered bits will print so try not to get any glue on your design, and leave it to dry. I gave mine 2 coats i the end as i could see a few tiny holes around the design
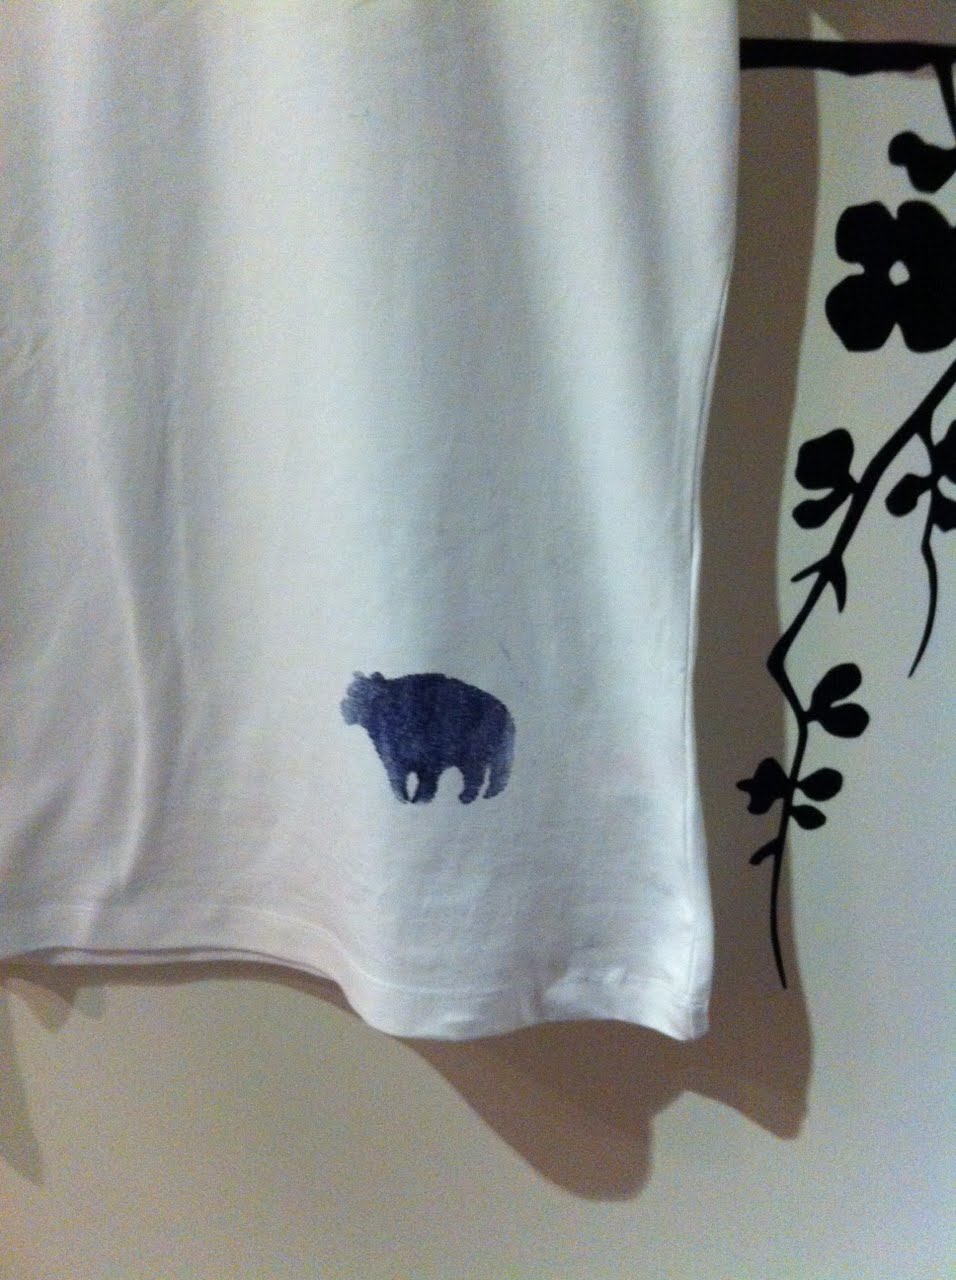
Once the screen is dry place it on whatever you are printing, im using a plain white tshirt. Place it flat side down so the screen is flush with the tshirt
Splodge on some paint above the design. This is where is useful to use a much bigger frame for your design, gives you more space to do the actual printing.
Then scrape the paint all over the design, try and be as firm as possible to make sure you squeeze all the paint through the tights. I used a bit of scrap plastic as my scraper but cardboard would do, anything firm with a flat edge basically.
Make sure you scrape paint over the whole design and you can go over it more than once if you want to make sure, just be careful the screen hasnt moved if you do.
Then peel of your screen and admire :)
You can see from mine that i used more pressure in the middle than the edges as not as much paint was squeezed through there, but i don't mind, i like inadvertent the mini ombre effect!
Let the paint dry and then follow the manufacturers instructions for fixing the paint to your fabric, and youre done.
Thursday, 20 September 2012
Washi tape stickers - tutorial
I love washi tape and im always trying to think of ways to use it.When i saw this washi tape sticker tutorial i though i could do my own take on it. What i really wanted was to be able to make stickers to give away, not just to use myself.
So i armed my self with some washi tape, a decorative punch and some freezer paper which would become the backing of the labels
I layered 2 bits of freezer paper over each other and stuck washi tape over the the join. Its important that freezer paper over laps each other and that'll make it easier to pull it away from the sticker when you want to apply your stickers. Also stick the washi tape to the shiny sign of the freezer paper, makes it easier to peel off as well.
So now i have lots of little heart sticker with easy peel off backing

I used mine to decorate my phone :)
Wednesday, 20 June 2012
Rodarte Inspired Hairclip
I love this diy Rodarte inspired hairclip tutorial at Refinery 29 so i thought i'd have a go myself. Love how it turned out, im going to wear it clipped at the nape/side of my neck when i have my hair in a messy side bun - my old faithful wedding guest hairstyle!

Sunday, 18 March 2012
Glitter question mark
I love these glazed letters over at iheart2stamp so i thought i give one a go for one aspect of a project i'm working on. I couldnt get a good photo of this to save my life so apologies for that but i am pleased with how it turned out :)
Subscribe to:
Posts (Atom)